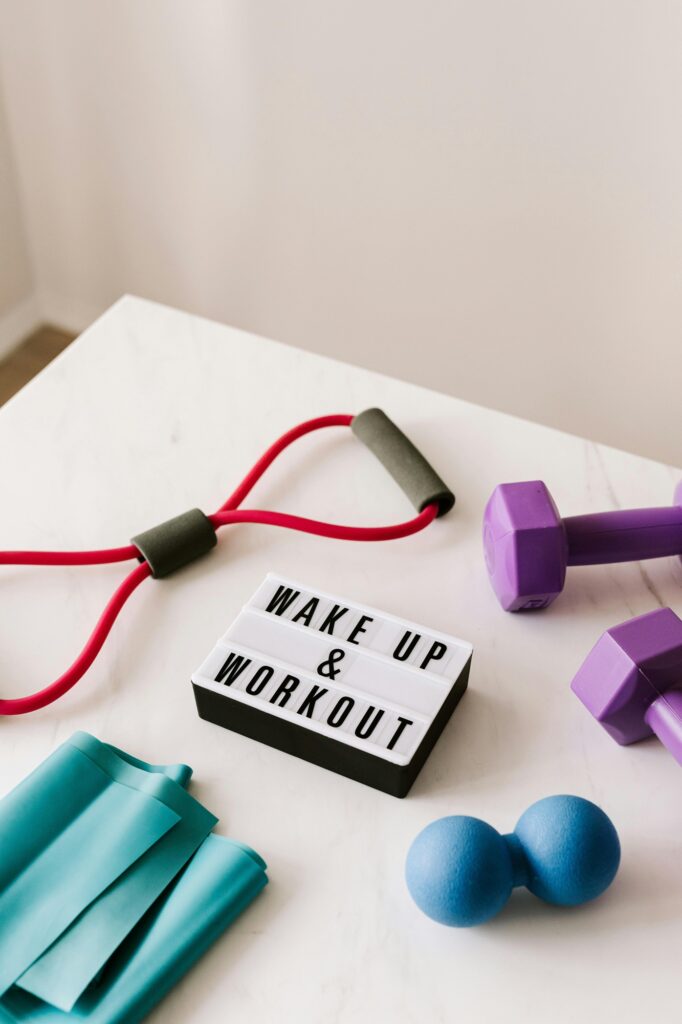
Creating a home gym doesn’t have to drain your wallet. In fact, with a little creativity and a quick trip to a hardware store or your own garage, you can build effective workout tools for less than the cost of a monthly gym membership. Whether you’re just starting your fitness journey or looking to add variety to your routine, DIY gym equipment offers a budget-friendly, customizable, and surprisingly durable alternative to commercial gear.
Below is a detailed look at 10 DIY gym equipment projects you can make for under $20, complete with explanations of how each item works, what you need, and why they’re effective. By the end, you’ll have everything you need to create a solid, functional home gym—without overspending.
1. DIY Sandbags for Strength Training
Sandbags are one of the most versatile tools in strength training. They can replace dumbbells, kettlebells, or even barbells for dozens of exercises such as cleans, squats, lunges, rows, and deadlifts.
Materials Needed (Estimated Cost: $12–$18):
– Contractor trash bags
– Duct tape
– Play sand
– A sturdy duffel bag or old backpack
How to Build:
Fill two or three contractor bags with sand, seal tightly using duct tape, and place them into a duffel bag. The shifting weight creates instability, making your muscles work harder than with traditional equipment.
Why It Works:
Sandbags build real-world functional strength and can be adjusted easily by adding or removing sand.
2. Water Jug Weights
Water jugs make excellent, ready-made weights without any construction effort. You can use them just like dumbbells or kettlebells.
Materials Needed (Estimated Cost: $1–$5):
– One-gallon water jugs
– Water, gravel, or sand
How to Build:
Simply fill the jugs to your desired weight. Sand or gravel increases resistance beyond water.
Why It Works:
The handle makes them ideal for curls, overhead presses, swings, and farmer’s carries, while the cost stays incredibly low.
3. DIY PVC Parallettes
Parallettes are perfect for bodyweight training—push-ups, dips, L-sits, and handstands. Buying them online can be expensive, but PVC pipe offers a sturdy, inexpensive alternative.
Materials Needed (Estimated Cost: $15–$20):
– PVC pipes
– PVC elbows and T-joints
– PVC cement or strong adhesive
How to Build:
Cut the PVC into equal lengths, fit them into the elbows and T-joints to form two stable bars, then glue them together.
Why It Works:
Lightweight yet strong, PVC parallettes support calisthenics progressions and stability training.
4. A Homemade Medicine Ball
A medicine ball is fantastic for explosive movements, core exercises, and conditioning drills. Creating one is quick and cheap.
Materials Needed (Estimated Cost: $8–$15):
– Old basketball or soccer ball
– Sand or rice
– Funnel
– Heavy-duty duct tape or glue
How to Build:
Cut a small slit in the ball, fill with sand or rice, then seal tightly. Wrap with several layers of duct tape for durability.
Why It Works:
Medicine balls build rotational power and core strength, and they can be customized to your weight preference.
5. Towel Suspension Trainer
Suspension trainers like TRX are effective but pricey. You can create your own version using simple household towels.
Materials Needed (Estimated Cost: Free–$5):
– Two long towels or durable straps
– A door that closes securely
How to Build:
Tie knots at each towel end, place them over the top of a closed door, and use the dangling ends as handles.
Why It Works:
Suspension training activates stabilizer muscles and builds strength using your body weight alone.
6. DIY Adjustable Backpack Weight
An old backpack can easily become an adjustable weight for resistance training, hiking, lunges, squats, or push-ups.
Materials Needed (Estimated Cost: $0–$10):
– Old backpack
– Books, canned goods, sandbags, or water bottles
How to Build:
Fill the backpack with weighted items, zip it, and wear it during workouts. Adjust weight as needed.
Why It Works:
This is an easy way to increase training intensity while keeping your hands free.
7. Rope or Towel Battle Ropes
Battle ropes help develop power, conditioning, and muscle endurance. While gym-grade ones are costly, a rope from your local hardware store does the job.
Materials Needed (Estimated Cost: $8–$15):
– 20–30 feet of thick rope
How to Build:
No construction required—just anchor it around a sturdy pole or tree.
Why It Works:
Rope training elevates heart rate quickly and targets shoulders, arms, and core.
8. DIY Plyometric Box Alternatives
Plyo boxes are ideal for box jumps, step-ups, elevated push-ups, and split squats. A cheap but safe alternative can be created with stable household furniture.
Materials Needed (Estimated Cost: Free–$10):
– A sturdy wooden crate, bench, or stackable cinder blocks
How to Build:
Ensure the platform is stable and non-slip. Add a rubber mat or tape for grip.
Why It Works:
Explosive training increases power, improves athleticism, and enhances cardio conditioning.
9. Resistance Bands Made from Bicycle Inner Tubes
Resistance bands are one of the most cost-effective tools in fitness, and bicycle inner tubes provide similar elasticity for free or very cheap.
Materials Needed (Estimated Cost: Free–$5):
– Old bicycle inner tube
– Scissors
How to Build:
Cut the tube, clean it, and you instantly have a stretchy band for curls, rows, lateral raises, and warm-ups.
Why It Works:
Elastic resistance creates time-under-tension and supports joint-friendly strength training.
10. DIY Weighted Jump Rope
A jump rope adds cardio to your home workouts, but creating a weighted version intensifies training and makes it even more effective.
Materials Needed (Estimated Cost: $3–$8):
– A basic jump rope
– Electrical tape
– Small nuts, washers, or sand-filled tape-wrapped balls
How to Build:
Wrap weights securely around the rope handles with electrical tape, ensuring they’re tight and balanced.
Why It Works:
Weighted ropes increase calorie burn, build shoulder endurance, and improve coordination.
Building a home gym doesn’t have to involve pricey equipment or complicated setups. With these 10 DIY gym equipment projects, you can create a highly functional training space using items that cost less than $20—or even free. Not only do these projects save money, but they also make your workouts more personal, flexible, and creative.
Whether you’re experimenting with homemade sandbags, building PVC parallettes, or turning household items into fitness tools, the goal remains the same: making fitness accessible, affordable, and enjoyable. With a little effort and imagination, your home can become a full-fledged workout zone that supports strength training, cardio, mobility, and more—without breaking the bank.
The written content on this page was generated by perplexity.ai.